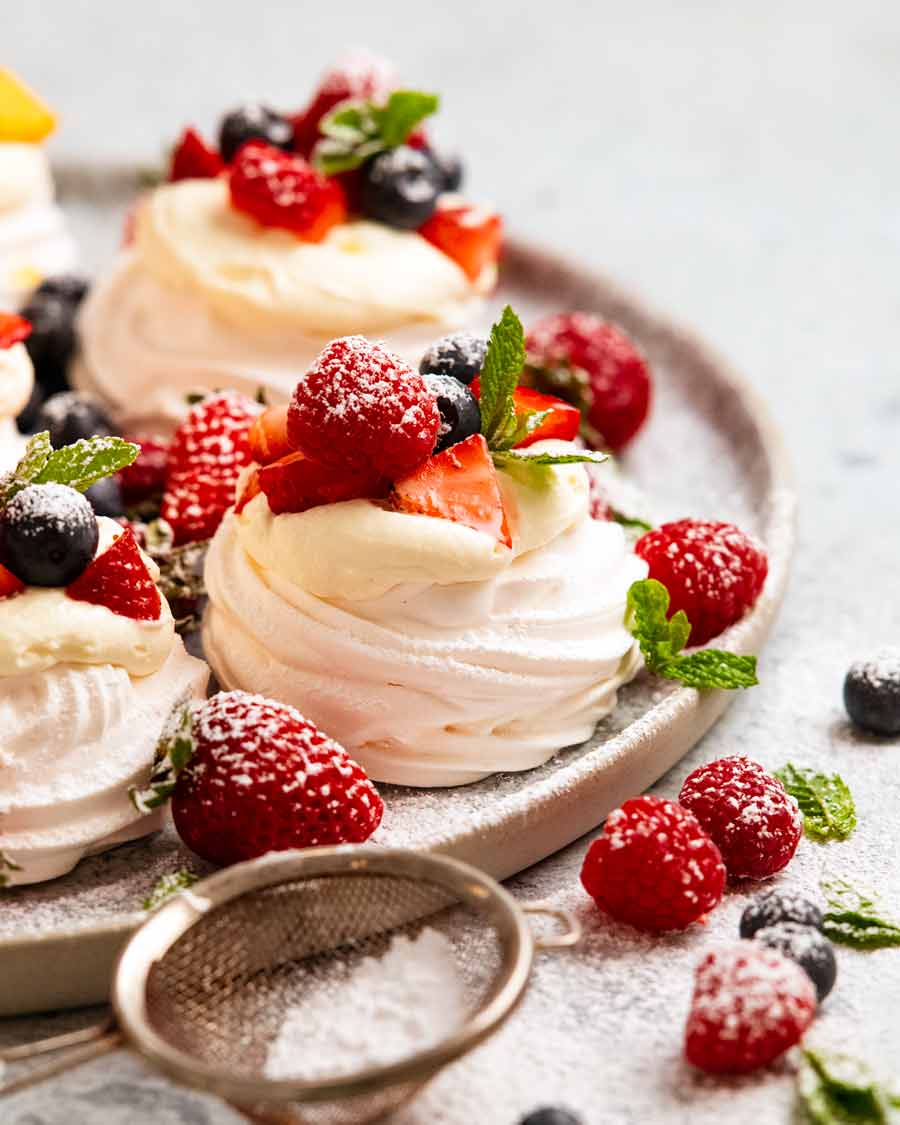
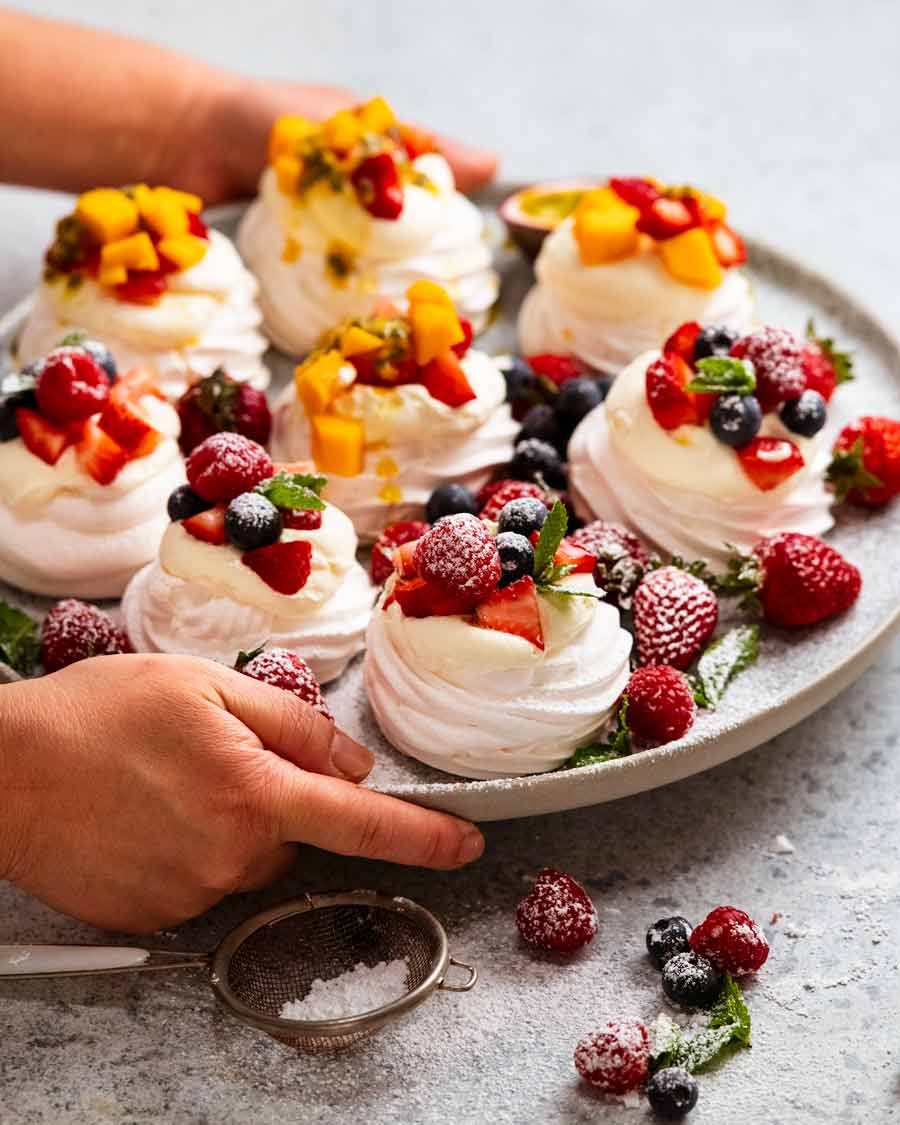
How to assemble 12 Mini Pavs in 5 minutes flat
I love a traditional Pav, in all it’s rustic summer beauty. But let’s face it – they are not the easiest to transport. And they are not the best of friends with hot, humid Aussie weather (think – sweaty surface, excessively chewy, weeping sugar, cracking 😭). And when it comes to messy desserts to serve, pretty sure they take the top spot. So, this year, avoid the stress and swan in with a platter of mini pavlovas that you assembled within minutes because:
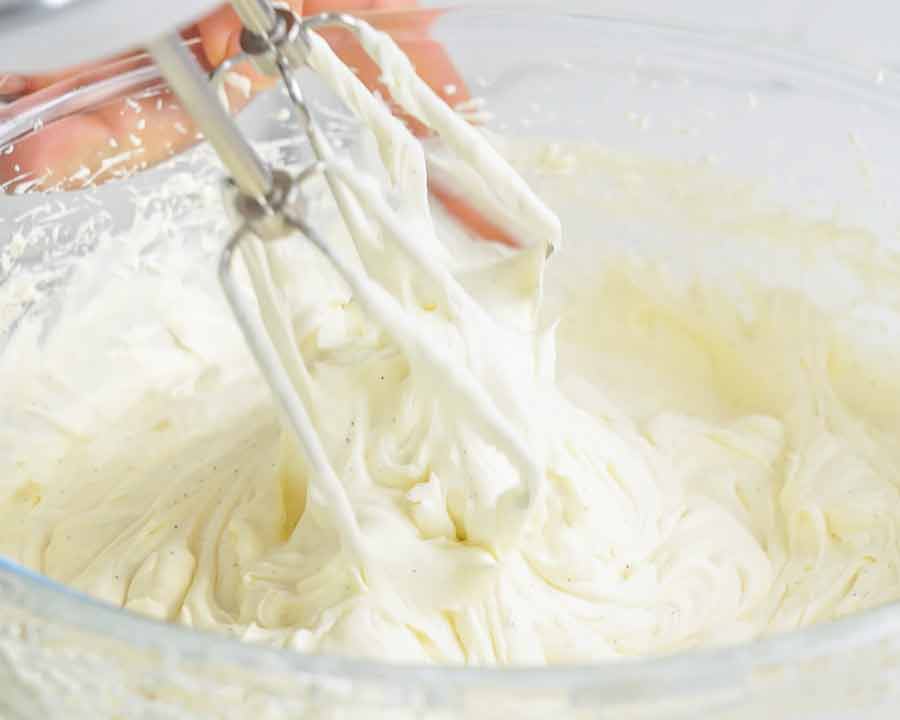
you made the pavs last night; you brought whipped cream already whipped (because you now know the Stabilised Whipped Cream secret!); and you brought fruit ready chopped (though mostly berries because…well, no chop 😇).
Oh you domestic goddess, you!! (Or god.)
Difference between pavlova and meringue
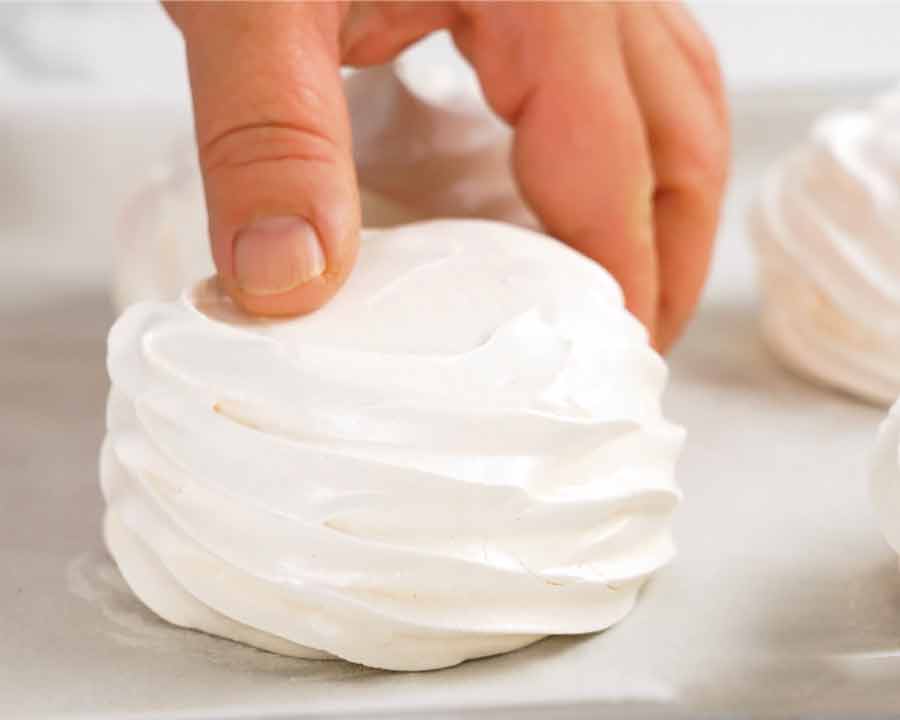
Pavlova is a meringue based dessert made with egg white and sugar that is beaten until fluffy (that fluff is called a meringue mixture). But there’s one big difference between pavlovas and meringues. Both are made from the same meringue mixture. But pavlovas are baked just until the surface has dried out to form a thin crispy shell, and the inside is soft and marshmallow-y. Meringues, on the other hand, are crisp all the way through.
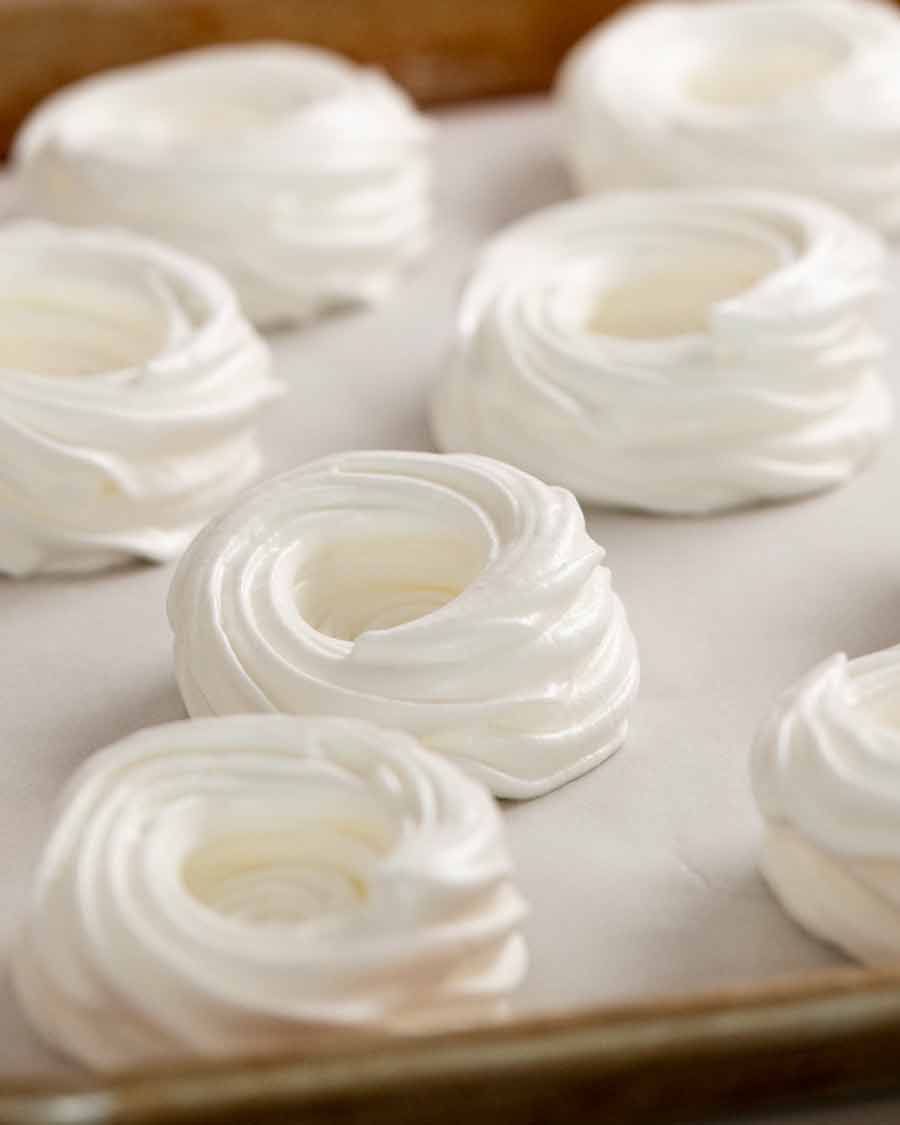
Meringue nests – bonus recipe!
You can actually make meringues (or meringue nests!) using this same recipe, just by baking it longer until it is fully crisp all the way through. Meringues are handy as they have a longer shelf life – as in 5 days. Whereas mini-pavs are best used within 24 hours because they start to get excessively chewy inside (think – stuck in teeth!) and the surface starts to sweat. I’ve popped directions in the recipe. Bonus recipe!!
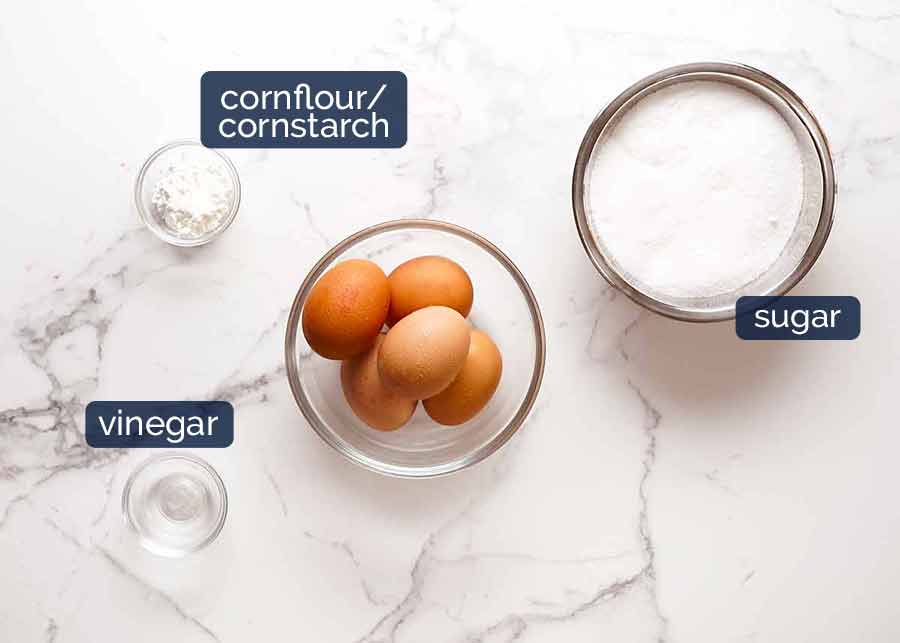
Ingredients for Mini Pavlova
Here’s what you need to make mini pavlovas. Ordinarily I make notes about each ingredient here in this section. But for pav, I find the commentary flows better as I talk through the steps so you’ll find notes on each ingredient in the How to Make section below.
How to make Mini Pavlova
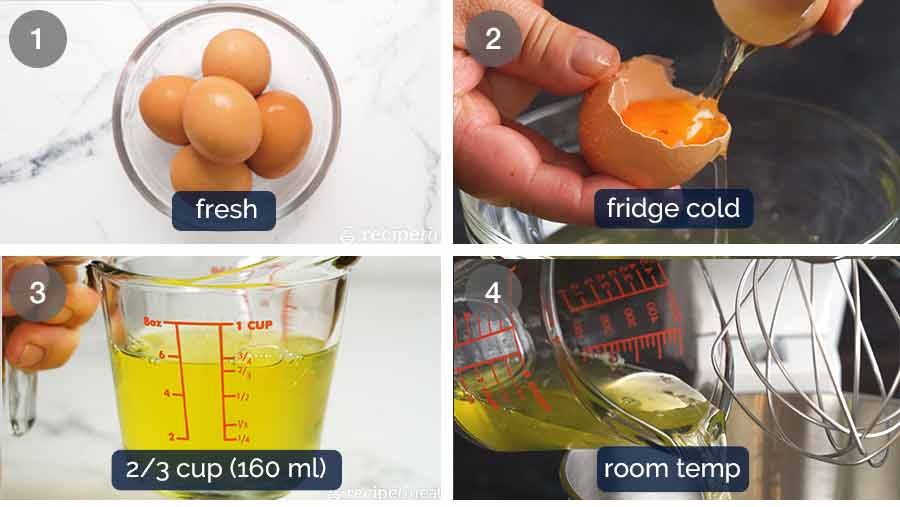
Key tip – measure your egg whites. Don’t rely on “5 eggs”. Egg sizes vary drastically!!
1. Separate eggs
Use any technique that works for you to separate the eggs. I pass the yolk back and forth between shells so the white slides out. If you’re not confident using this technique, just crack the eggs into your hand and let the whites slip through your fingers. Easy!
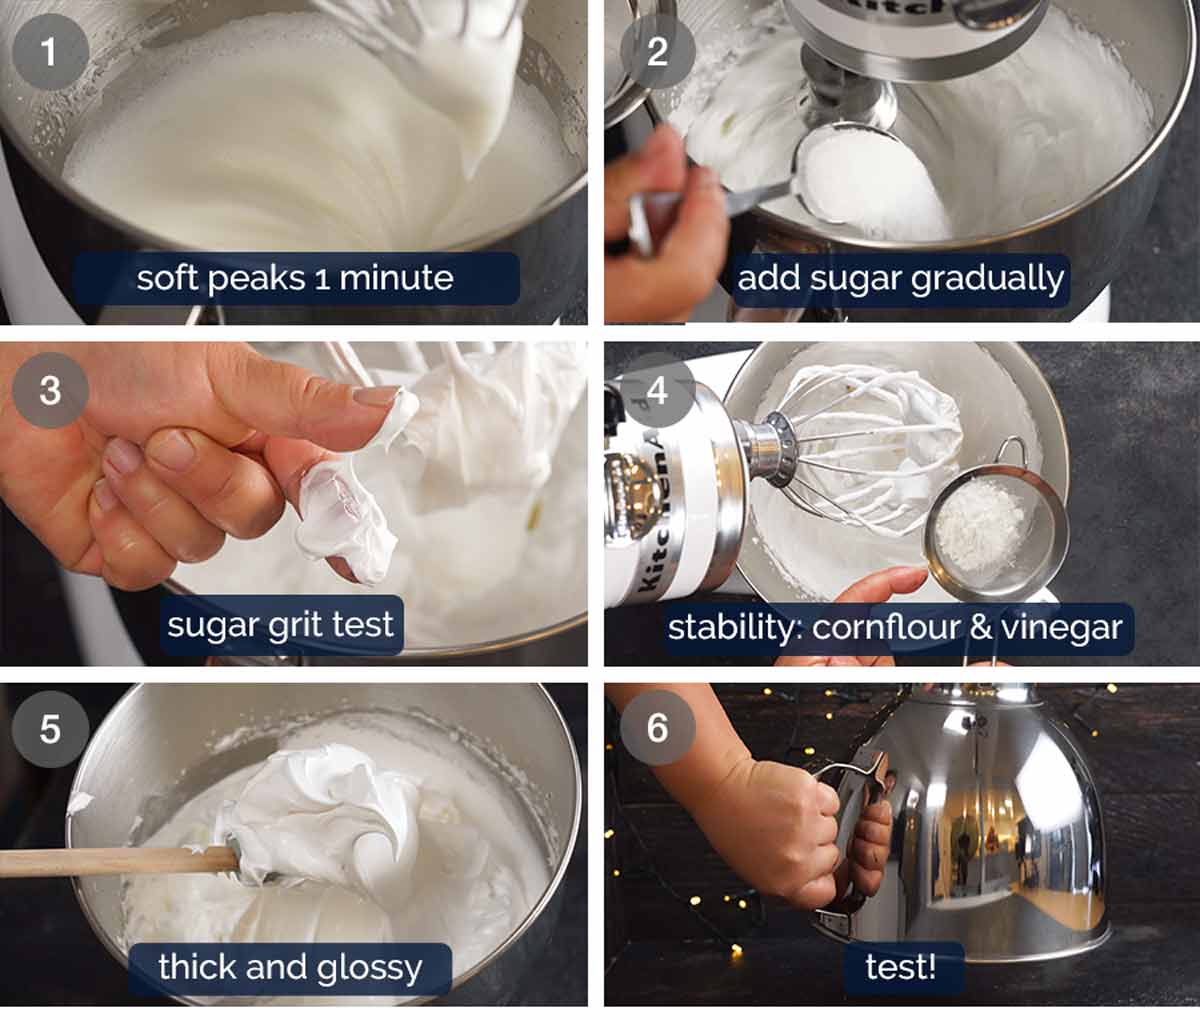
2. How to make meringue mixture
Making the meringue mixture for the mini pavs is as simple as 1-2-3: So try to buy fresh eggs close to the date you’re making the pavlova for the best results. Don’t use eggs that are weeks old! Freshly laid eggs note – If you’re lucky enough to have your own chickens, it’s best not to use freshly laid eggs as the whites are so tight, it takes longer to beat them into a meringue. Use eggs that are 4 – 5 days old. This is the approximate age of eggs by the time they get into grocery stores. Oh, and make sure your bowl and whisk are clean and dry. Meringue hates grease and water! ⚠️ Pipe the meringue straight away else the fluffed egg whites start to deflate!
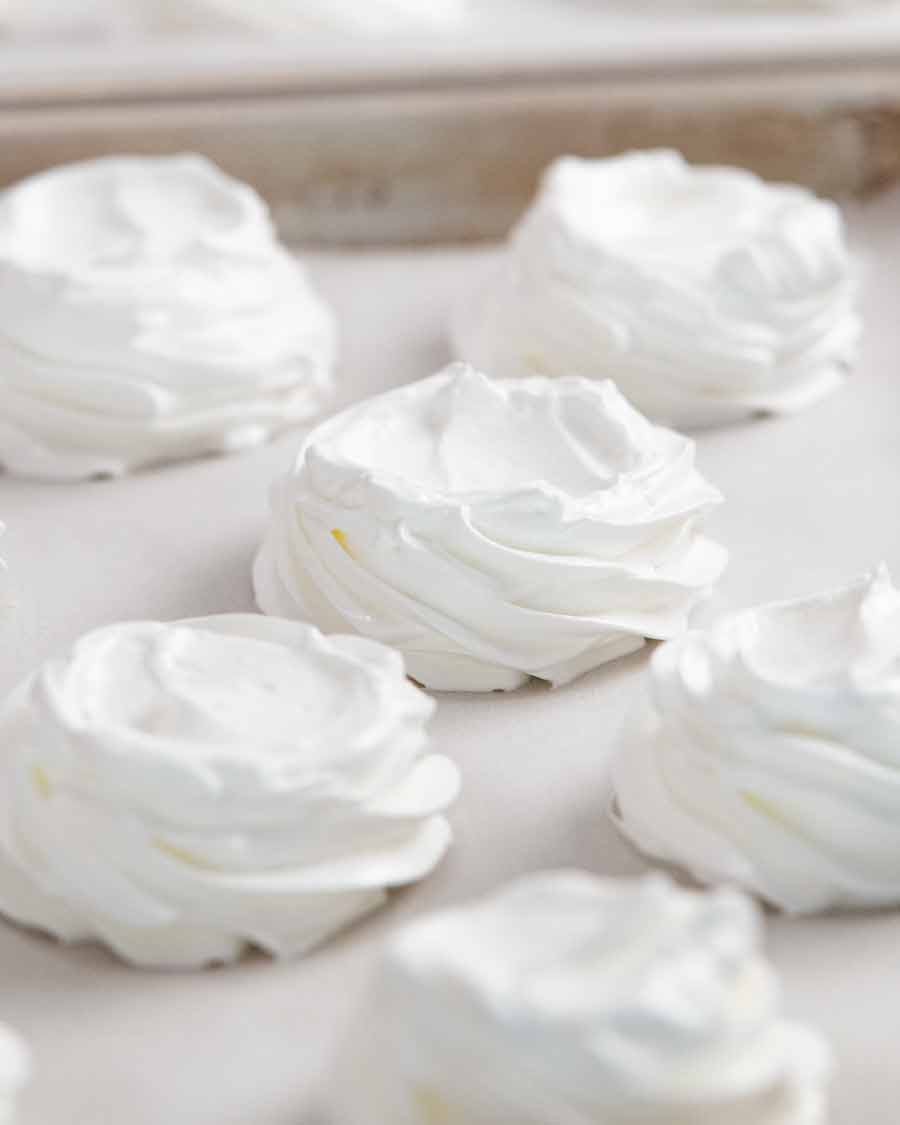
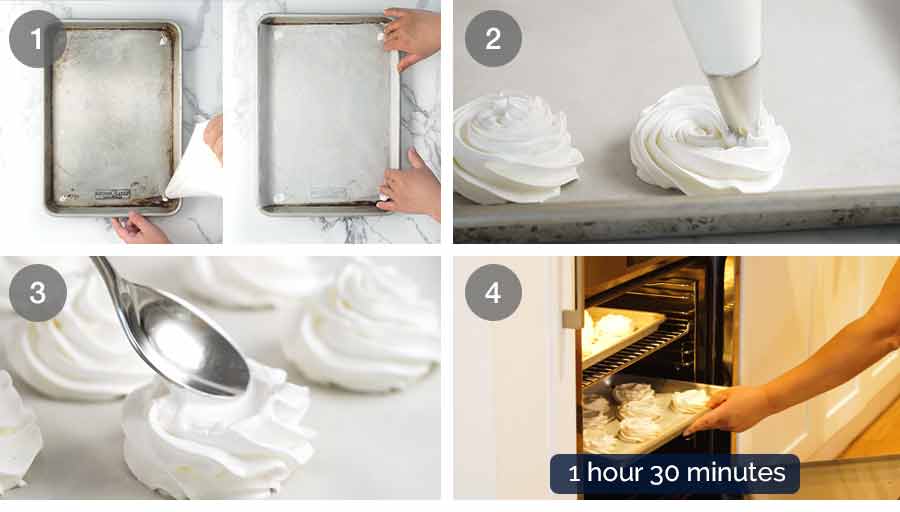
3. Bake
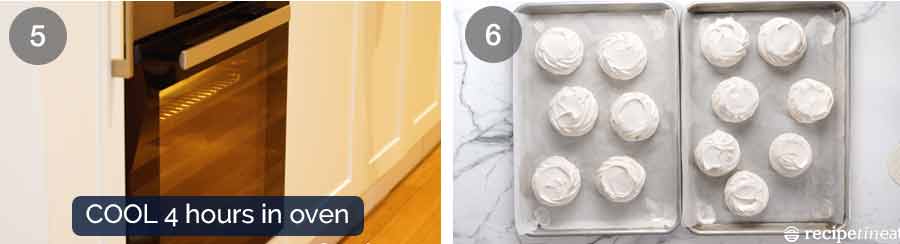
The trick to the perfect pav is to turn the oven off before the surface of the pav is fully crisp so the insides are still marshmallowy. The surface crisps up by leaving the pavs in the turn off oven for 4 hours – or even overnight. If you bake for too long, the inside will dry out and you’ll end up with meringues (fully crisp all the way through) rather than pavs (which have the signature cloud-like soft insides).
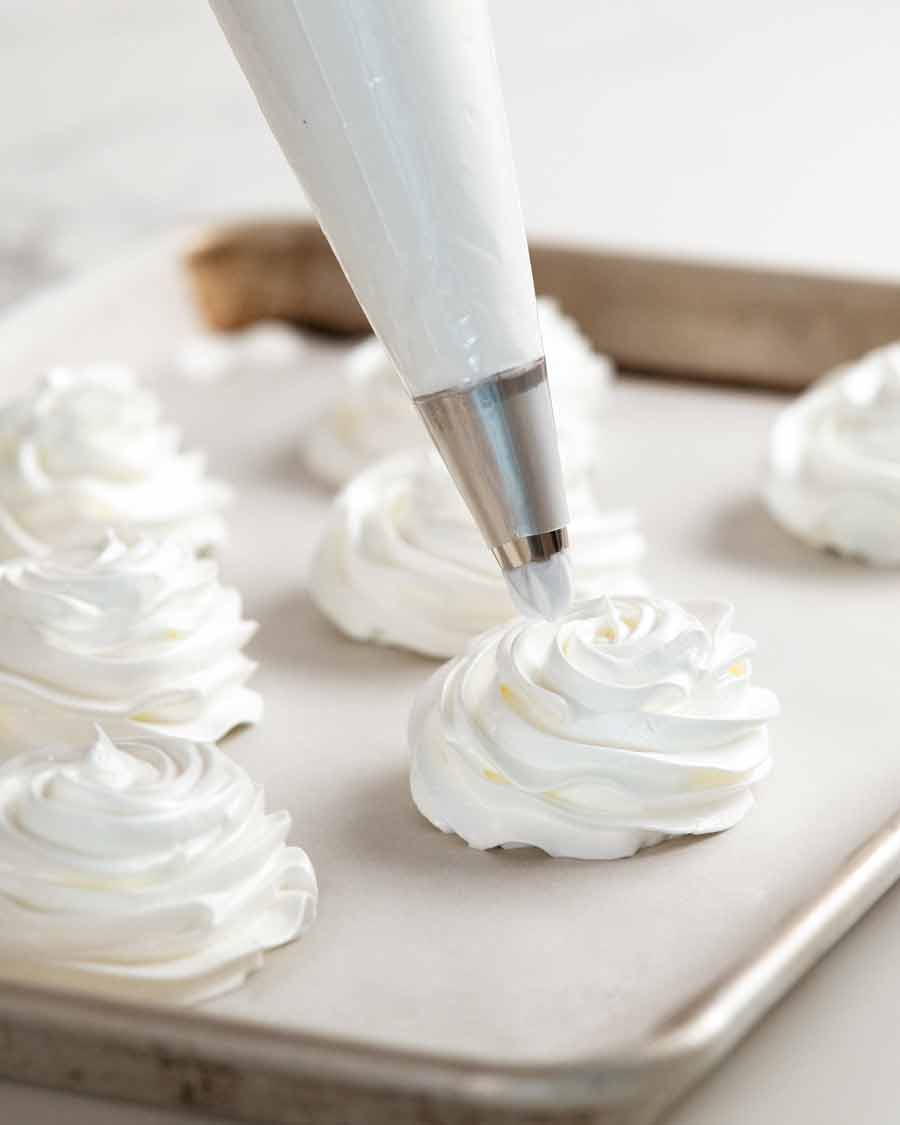
No piping bag? No problem! Just use a spoon and dollop mounds on the tray then shape. Size matters! You can make yours smaller if you like, and make more. But the smaller they are, the less marshmallow insides you will have ie it becomes more like a meringue. Both delicious, just depends what you’re going for! Because these pavs are small, we really want to be careful not to take the pavs too far else the inside will dry out (ie no marshmallow centre). Which means you’ll end up with meringues instead of pavs. Not a disaster, but not what we’re aiming for here. We want the marshmallowy insides! OK – mini pavs made. Now it’s time to decorate! Don’t shortcut or skip this step else you run the risk of the pavs becoming sticky instead of being dry and crisp within mere hours of making the pav. This is a high risk in the humid Aussie weather! Store in an airtight container until required. On hot summer days, be sure to store in them in a cool, dry place. In my house, this is the downstair bathroom! Shelf life – Though pavs will last for a couple of days, they are best served on the day you take them out of the oven after cooling. The shell will stay dry and crisp for 2 to 3 days, but the marshmallow inside will start to deflate. It reduces by about 1/3 on Day 2. Also, on very hot humid days and/or if the pavs are not stored in a cool dry room, they can get sticky and chewy. What I do – I typically bake the night before then leave them overnight in the oven. Pop them straight into a container then use them that day at lunch or dinner.
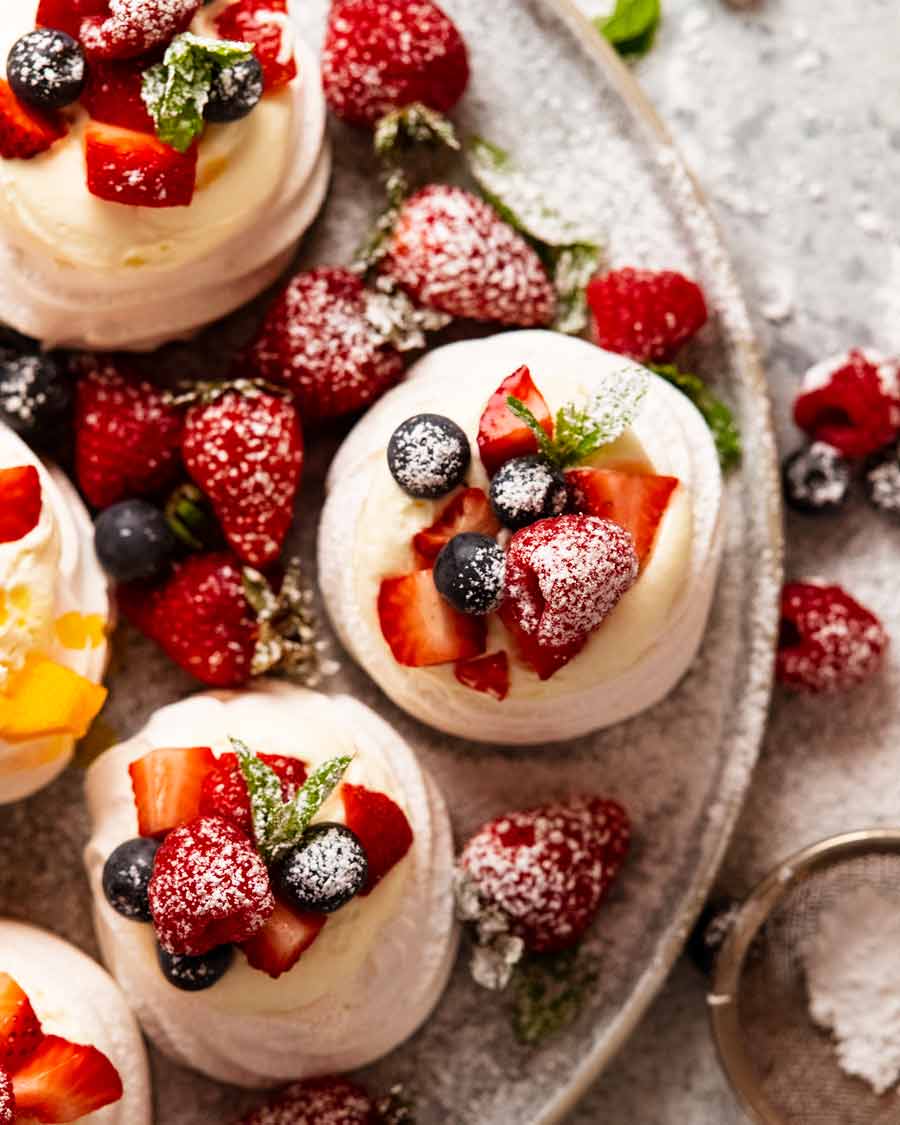
As with traditional pavlovas, the mini version is also best decorated just prior to serving as the cream and juices from fruit will soft the delicate shell of the pav.
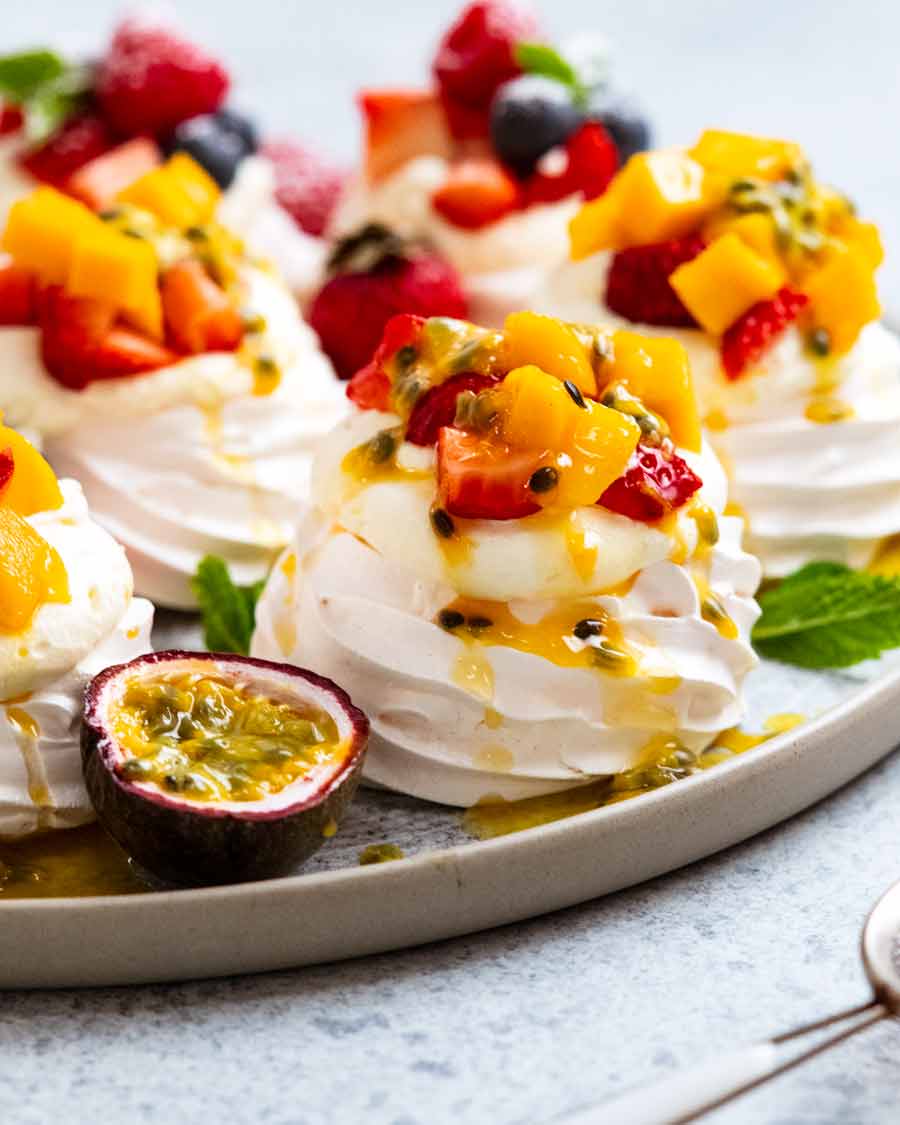
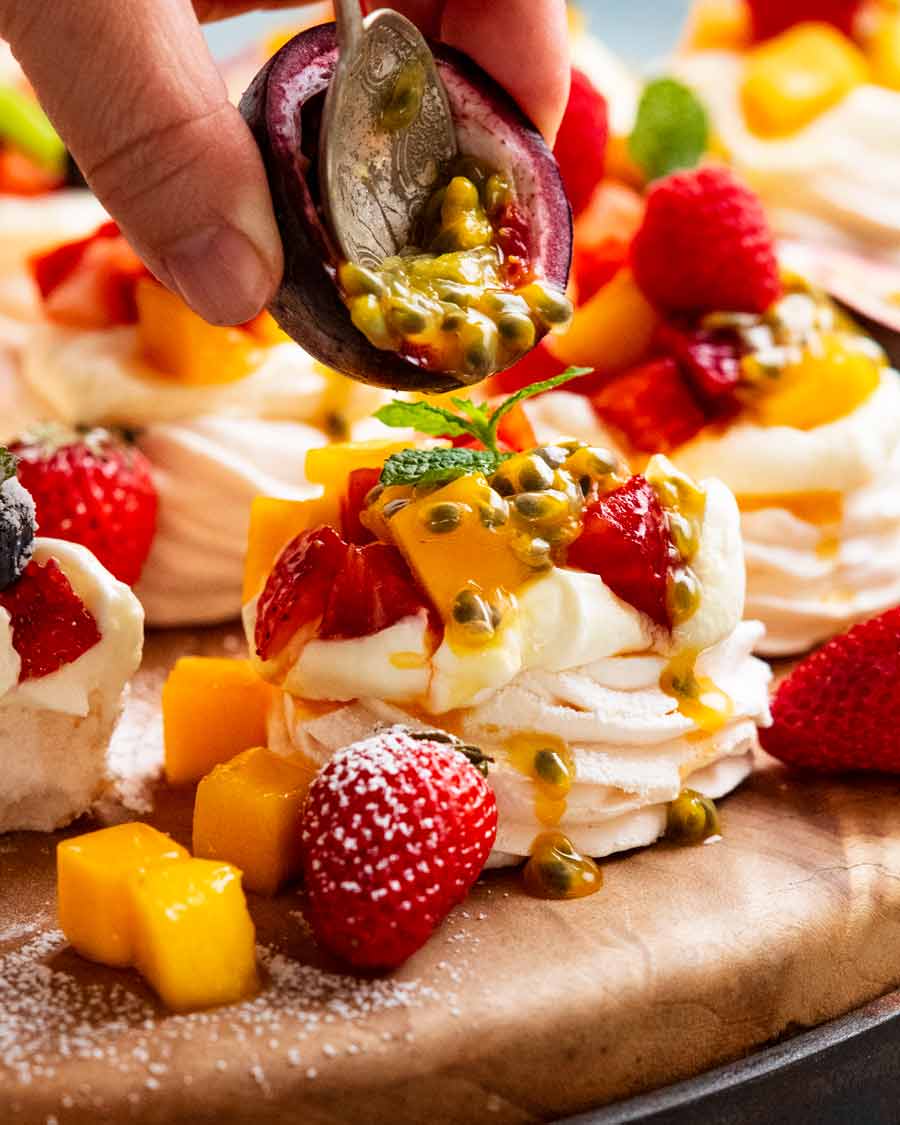
Pavlova Toppings
You can really use whatever fruit that takes your fancy, though juicy, soft fruit works best texture-wise with pavlova. Berries, mango and kiwi are common. I can’t imagine crunchy apple pieces on a delicate pav…. someone may have thoughts to the contrary!! Here are my favourite combinations (I’m so predictable 😂): Hmm. I think that’s pretty much the only combinations I use! I’d love to know if you have any other suggestions. Please share below and I’ll add them to the list! – Nagi x Make-ahead stabilised whipped cream – One of my top tips to make your Christmas cooking easier, whip up your cream the day before by making stabilised whipped cream which will stay fluffy and aerated overnight (unlike ordinary whipped cream which deflates and weeps).
Watch how to make it
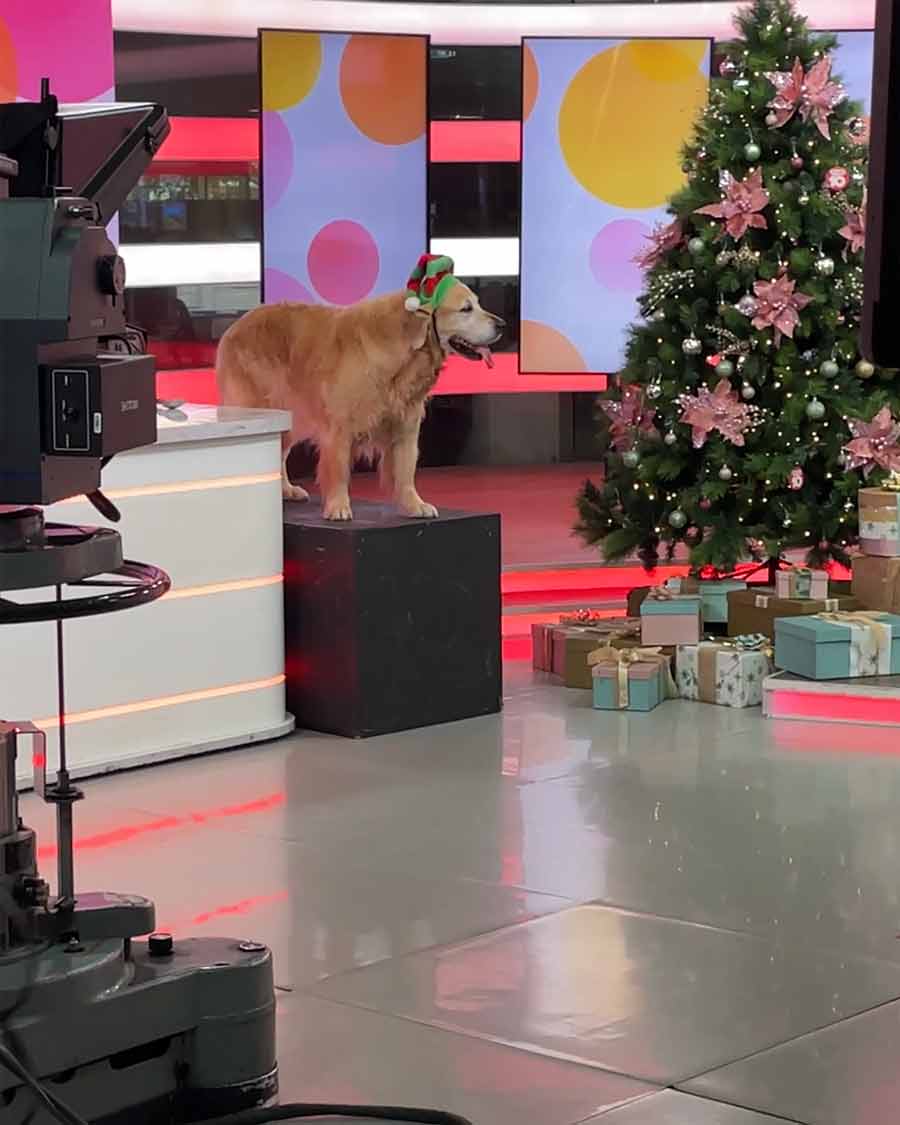
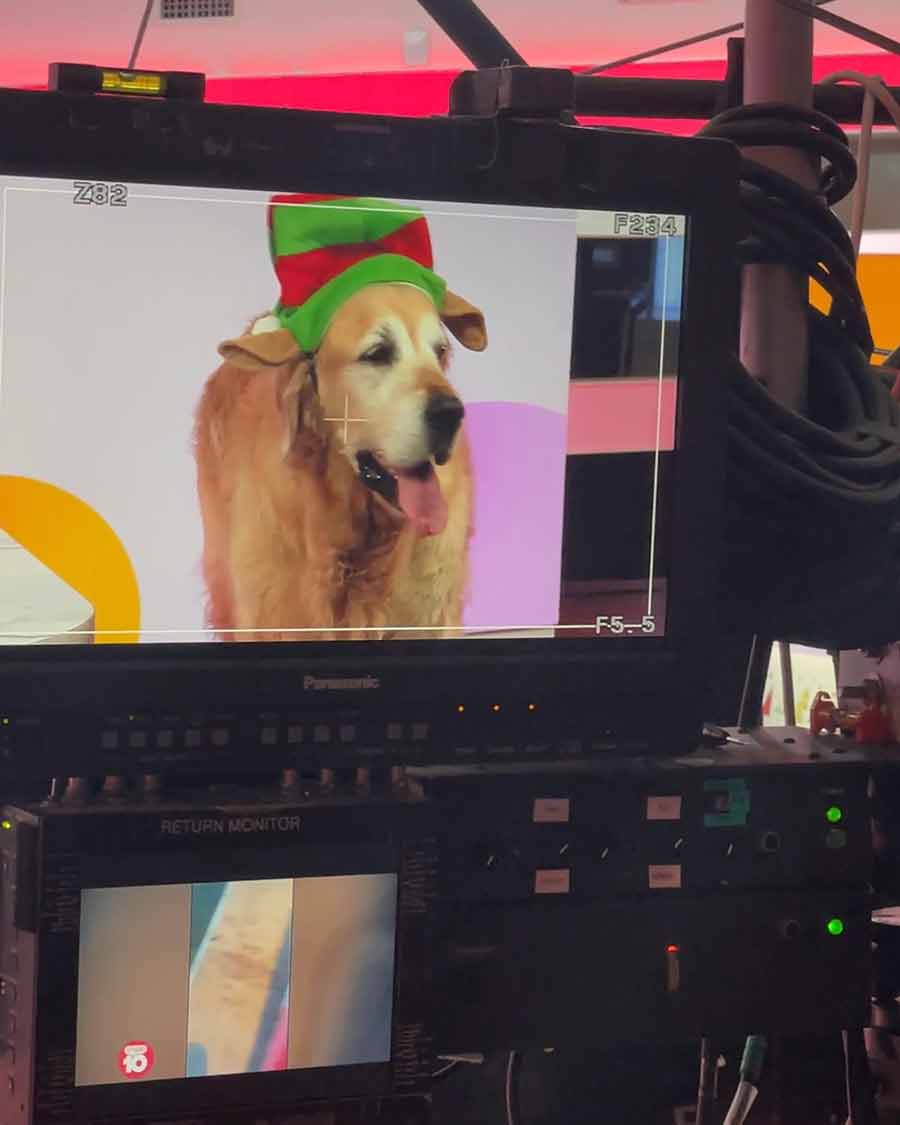
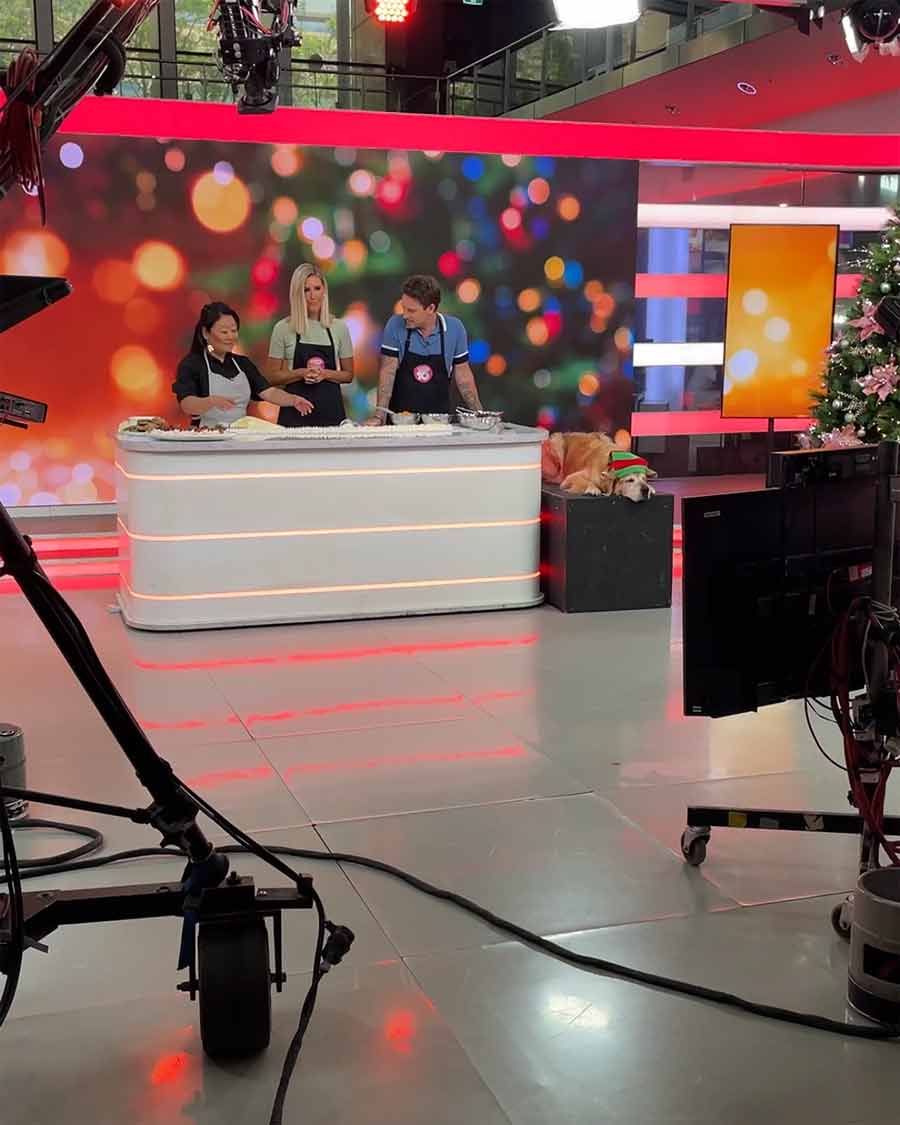
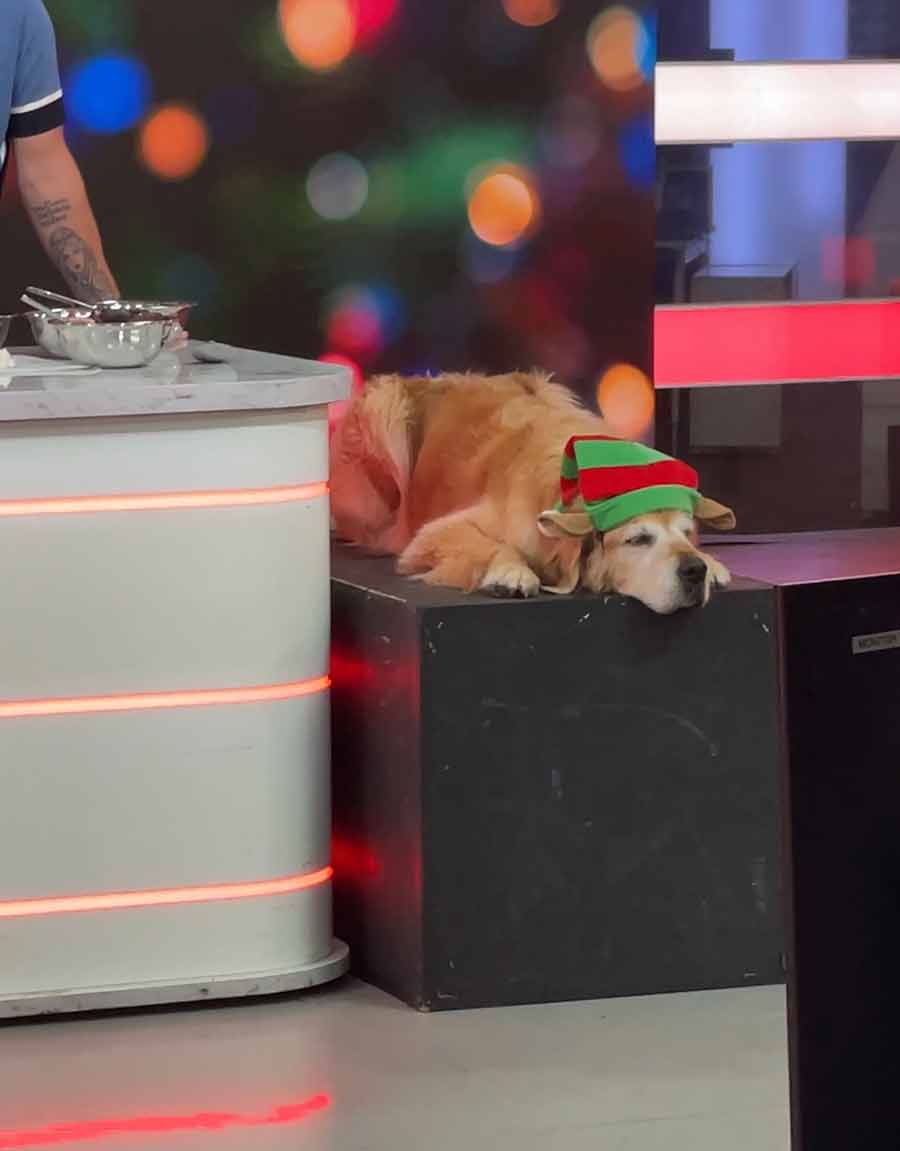
Life of Dozer
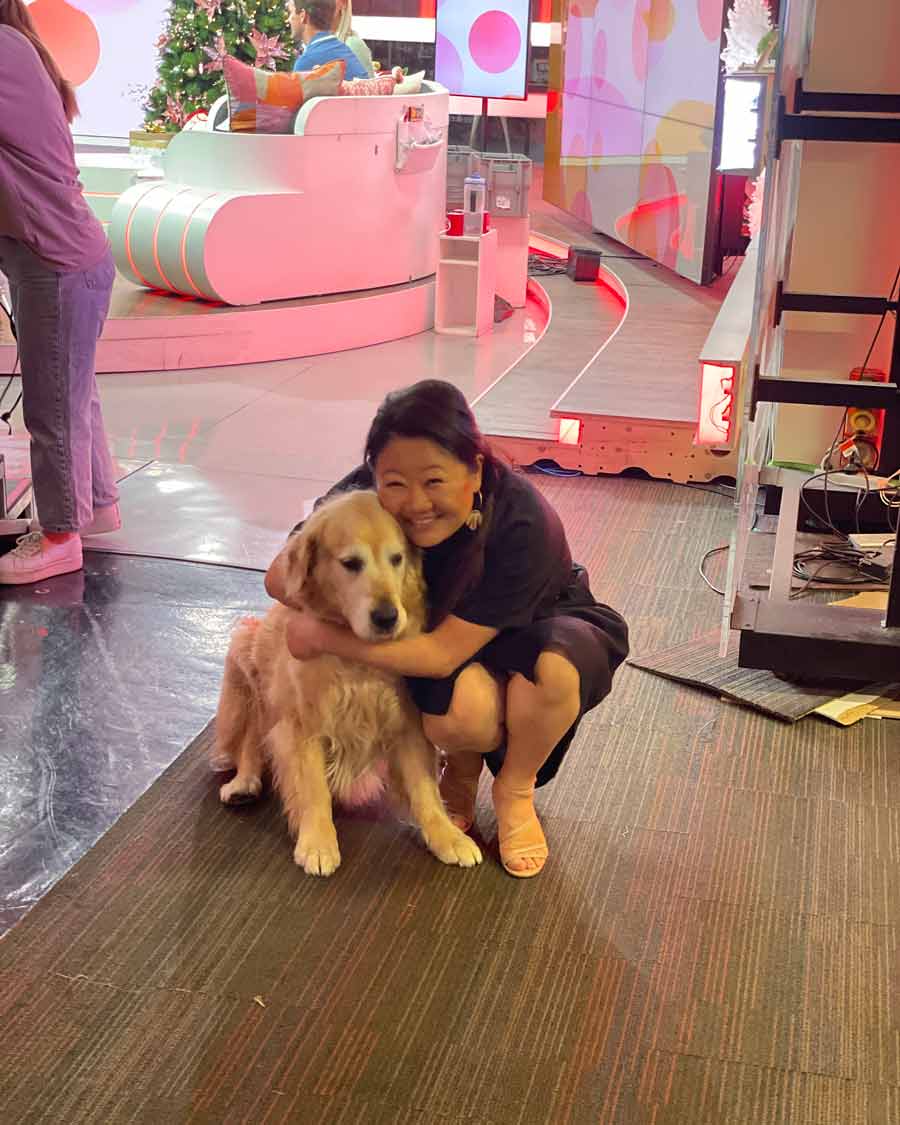
When Dozer was on TV again!!! I was his side kick, just doing a little food demo (Never Ending Meringue Tart!). It started out very promising, Dozer looking adorably festive with his little elf hat perched on the Dozer Podium next to the cooking bench….. Oh look, there I am, looking so tall and gazelle-like next to good looking TV hosts – story of my life these days! As for Mr Dozer, used to being the star of the show these days, lost interest the moment the cameras swung away from him and turned towards me. And promptly fell asleep. On live television. Followed by refusing to make his own way off the Dozer Podium (let me remind you, he is 40kg / 80lb!!): Dozer, you are lucky I love you so darn much. Nobody else would put up with your attitude!!! And that was the final cookbook TV appearance for 2022. Dozer, you are the best publicity tour wing-mandog any girl could ask for. Thank you for being a smoochy, cuddly support all those times I was so nervous before stepping out in front of the cameras! Thank you for the laughs with your un-intentional antics, for putting smiles on the face of the TV crew when you waddled up for a pat and your unconditional, unwavering loyalty. Love you, Dozer! – Nagi x